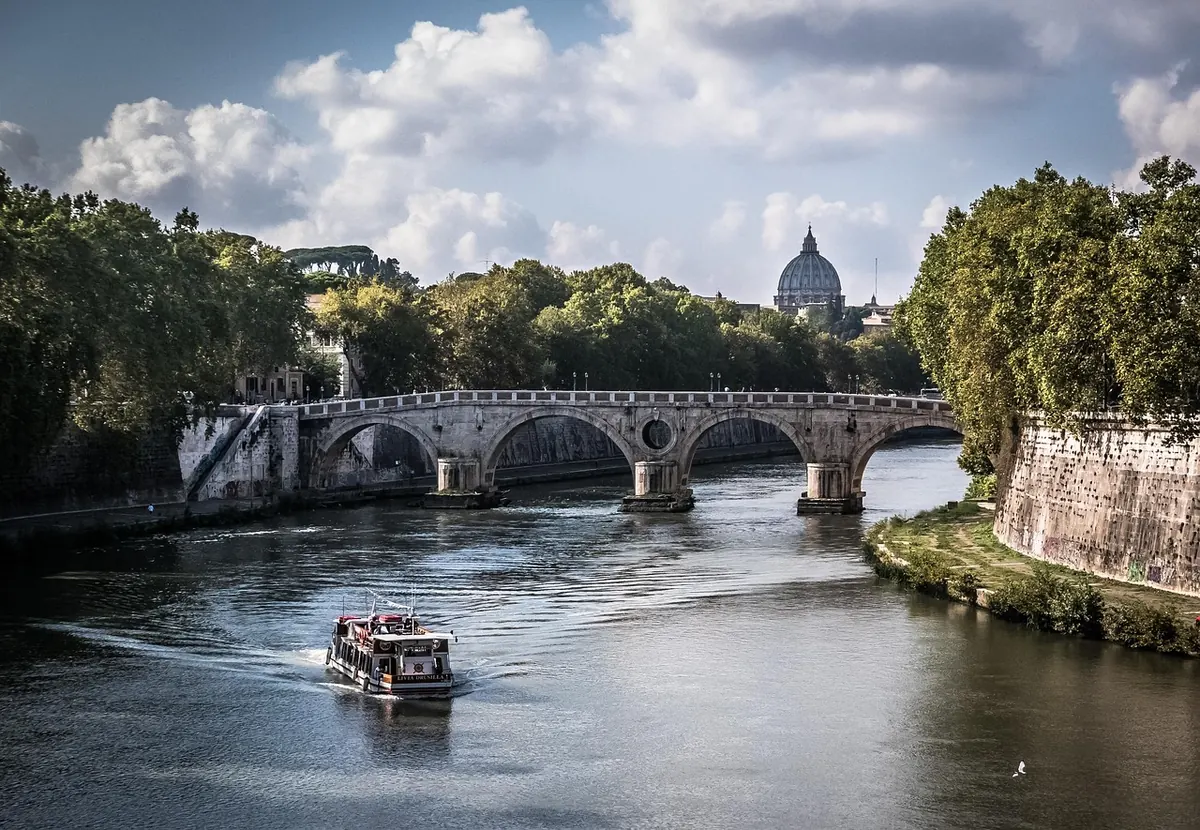
Fall Foliage Bridge Walks: 6 Scenic Routes for Autumn Photography
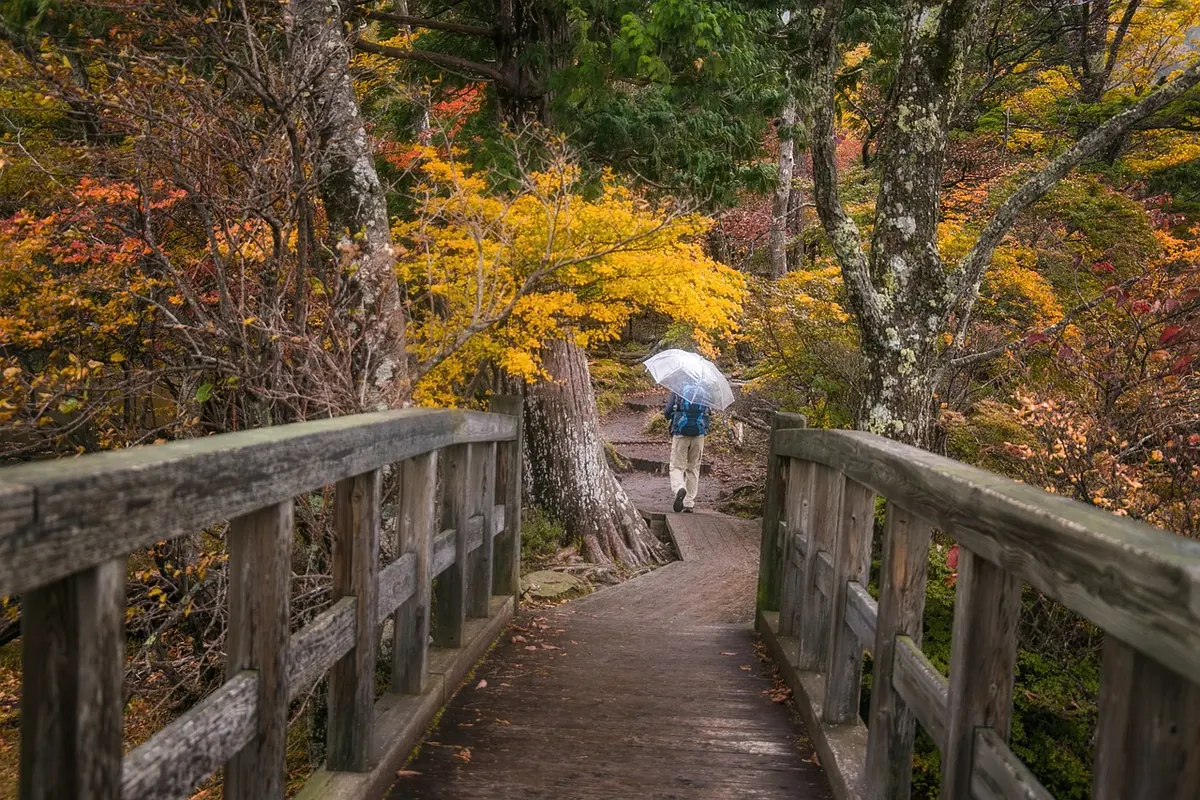
Fall Foliage Bridge Walks: 6 Scenic Routes for Autumn Photography
Autumn is the season when bridge architecture gets a second frame: leaves. A stone arch, a cast-iron span, or a covered timber bridge reads differently when the banks turn copper and the water carries color. The trick is not chasing the single most famous viewpoint. It is choosing a walk where the bridge, the trees, and the light work together, then arriving at the right hour. A little planning can turn a crowded viewpoint into a quiet sequence of images, and a simple walk into a small portfolio.
Start with the bridge, then build the walk
Good fall bridge walks are short on friction. You want a clear route, a few alternate viewpoints, and enough time to watch the light change. Before you commit to a location, ask six practical questions.
- Which side of the river gets morning light?
- Can you reach the far bank for a reflection?
- Is the bridge open to pedestrians at the hour you plan?
- Where will you stand without blocking traffic?
- Where does the sun set relative to the span?
- Is there shelter or a cafe nearby if the weather turns?
Use local foliage reports as a rough guide, not a promise. Leaf change moves with elevation, species, and the first cold nights. A river valley can hold color a week or two after higher ground has gone bare. If you have flexibility, pick a route with both a woodland section and an open riverbank; you will usually find something worth photographing even if one part is past peak. It also helps to scout the route once without a camera. Note where the path narrows, where the bank is steep, and where a tripod would be safe. On the day, you can move directly to the spots that matter.
Six scenic bridge walks for autumn photography
These six routes are spread across the US and Europe, and each offers a different lesson in how bridges and foliage interact. Treat the notes as starting points and check access, opening times, and local conditions before you travel. The notes assume you are walking, not driving from viewpoint to viewpoint, because the best bridge photographs often come from the approach.
1. Bow Bridge, Central Park, New York
Bow Bridge is a low cast-iron arc over the Lake, and in autumn it becomes a frame rather than a destination. Walk the shoreline paths first, looking for the bridge across water with the skyline softened by trees. The classic side view works best when the water is calm and the bridge is not crowded. Early morning is your friend; later in the day, the bridge is often busy with portraits and weddings. Use a longer lens from the opposite bank to compress the foliage behind the bridge, and keep your tripod low and out of the path. The nearby Bethesda Terrace and the shoreline paths give you several angles in a small area: a wide view with the bridge small in the frame, a tighter shot with leaves overhead, and a reflection shot when the rowboats are still. If the bridge is busy, photograph the approach instead; the curve of the path and the trees can suggest the bridge without a crowd in the frame.
2. Woodstock and Taftsville covered bridges, Vermont
Vermont’s covered bridges suit autumn because timber, white paint, and red foliage share a palette. A relaxed route around Woodstock can include the Middle Bridge over the Ottauquechee River and the Taftsville Covered Bridge a short drive away. Photograph the bridge from the riverbank, not just from the road: the reflection and the stone abutments tell more of the story. Overcast light is often better than hard sun here, because it holds detail in the shadows under the roof. Go early for mist and quiet, and leave the bridge clear for traffic. The Middle Bridge is a useful wide-angle subject because the riverbank gives you room to include the water and the village edge. At Taftsville, the covered span and the stone abutments are the story; a slight side angle shows both the roof and the reflection. If the light is flat, look for detail: wet leaves on the road, the texture of the siding, or a single red maple against white paint. Remember that these are working bridges, so never stop on the roadway for a shot.
3. Pont Alexandre III, Paris
This Beaux-Arts bridge over the Seine is a study in ornament, lampposts, and gilded detail. In autumn, the quays and tree-lined embankments give it a softer setting. Start on the Left Bank and walk toward the bridge as the light comes up; the low sun picks out the sculptures and the lamp standards. A side view from the quay can include foliage and river traffic without the crowds on the deck. For a cleaner architectural shot, use a moderate telephoto and wait for a gap in pedestrians. The bridge is a working crossing, so keep moving and avoid setting up in the main flow. The surrounding architecture is part of the autumn frame. From the Left Bank, you can include the gilded statues and the trees along the quay; from the Right Bank, the Grand Palais and Petit Palais give a grander backdrop. A polarizing filter can help with the Seine, but do not overdo it. If you want the bridge without traffic, the early morning is best, and a slight crop can remove distracting signs or tour groups.
4. The Iron Bridge, Shropshire, England
The Iron Bridge crosses the Severn in a wooded gorge, and its cast-iron ribs look almost delicate against autumn hillsides. Walk the riverside paths and look back at the bridge from the banks; the view from below emphasizes the span and the reflection. Morning is usually calmer, with mist rising off the water and fewer visitors on the path. A polarizing filter can help cut glare on the river, but check the effect on the foliage, because it can deepen blues and darken reds. After rain, the stone and iron take on richer tones, though the paths may be slippery. The gorge is steep and wooded, so the color often lasts longer on the slopes than on the exposed tops. Try a vertical frame from the riverbank to include the ironwork, the trees, and the water in one column. If the light is too contrasty, wait for a cloud or return in softer weather. The bridge is a museum piece and a symbol, but it is also part of a living village; keep to the paths and give other walkers room.
5. Rakotzbrücke, Kromlau Park, Germany
The Rakotzbrücke is a stone arch designed to reflect a near-perfect circle in still water. Autumn adds a ring of color around that geometry. Arrive early and be patient: even a light breeze breaks the reflection. Use a low viewpoint from the permitted path and keep the bridge centered, or shift slightly to let foliage frame one side. The bridge is historic and not built for climbing or scrambling; stay on marked routes and respect barriers. A cloudy, windless morning is often better than bright sun, which can blow out the sky and leave the arch in shadow. The park is popular, so the earliest slot is not just about light; it is about having the viewing area to yourself. Check which paths are open, because restoration work and vegetation management can change the reflection. A tall vertical crop can emphasize the circle, while a wider frame can include the surrounding rhododendrons and pines. If the water is not still, look for a smaller reflection in a calm edge rather than forcing the full circle.
6. Clifton Suspension Bridge, Bristol, England
Clifton Suspension Bridge spans the Avon Gorge, and in autumn the wooded slopes below Clifton Down turn gold and rust. Walk the Downs for wide views, then move to the observatory area or the riverside paths where access allows for a lower angle. The bridge’s towers and chains are best photographed in soft side light, so late afternoon can be stronger than midday. Watch the wind: it moves the bridge and the trees, and it can make long exposures unreliable. If you want a clean shot of the span, avoid the commute hours and remember that the bridge is a working route for cyclists and pedestrians. The Downs give you the classic long view, but the lower paths and the observatory area can produce a more layered image with trees in the foreground. A telephoto lens is useful from the Downs: it compresses the towers, the gorge, and the autumn slopes into a single frame. If you are shooting from the bridge itself, use the pedestrian walkway and never stop in the cycle lane. Wind is the main enemy for long exposures; a faster shutter speed and a slightly higher ISO are often better than a blurred image.
Photo timing that changes the result
Autumn light is lower and warmer, but it is also less predictable. A little planning beats a lot of standing around.
- Blue hour and first light. Arrive before sunrise to catch still water and empty paths. The sky may be brighter than the bridge, so expose for the highlights and let the shadows sit.
- The first hour after sunrise. Side light rakes across stone and timber, revealing texture. This is often the best window for covered bridges and gorge views.
- Mid-morning to early afternoon. Use this time for details, market scenes, and scouting. Hard sun can be harsh on water, but overcast light is ideal for covered bridges and forest paths.
- Golden hour and sunset. Warm light can make stone glow, but the bridge may fall into shadow if the sun drops behind a hill. Check the forecast for cloud cover and be ready to move to the opposite bank.
- Blue hour after sunset. If the bridge is lit, a tripod and a slightly longer exposure can balance the sky and the lamps. Keep the exposure short enough to avoid blur from traffic or wind.
Wind, not rain, is often the deciding factor for reflections. A light breeze can ruin a mirror-like river, so check the forecast and have a backup viewpoint that uses movement instead of stillness. Fog is a gift for bridge photography: it simplifies the background and adds depth. If fog is forecast, arrive early and work quickly before it lifts.
A simple shot list for any bridge walk
When you arrive, resist the urge to take the same postcard frame first. Work through a short sequence instead, and you will leave with more usable images.
- Wide establishing shot. Show the bridge in its landscape, with enough riverbank or trees to explain the setting.
- Reflection or water detail. Look for still water, leaves floating downstream, or a patch of color below the span.
- Architectural detail. Photograph the ironwork, stone joints, lamp posts, or timber joinery that give the bridge character.
- Foreground leaves. Use a branch or a drift of leaves to frame the bridge and add depth.
- People for scale. A distant walker or cyclist can show the size of the span without dominating the frame.
- Vertical or square crop. Some bridges look better when you change orientation; try one before you leave.
Access, etiquette, and weather
A bridge photograph is also a visit to a working place. Many of these spans carry traffic, and some are fragile historic structures. Stay on marked paths, obey barriers, and never climb on the bridge for a better angle. If you use a tripod, keep it close to the edge and out of the walking line. In parks, avoid trampling beds or blocking gates. In towns, be mindful of residents and morning commuters.
- Check opening times and any permit rules before you travel.